My chocolate chip cookie recipe (and the 72-hour trick worth knowing)
I tested 2-hour, 24-hour, and 72-hour dough rests so you don't have to. Here's the chocolate chip cookie recipe that actually delivers.
Chocolate chip cookies ruined two of my Saturdays before I got them right. The first batch came out of the oven looking promising and then collapsed into greasy, flat discs as they cooled. The second batch held their shape but tasted like nothing. Just sweet, vaguely biscuity, not the thing. Not the warm, crispy-edged, chewy-inside thing I'd been chasing since I stopped buying those tubes of pre-made dough from the Edeka refrigerator section (no judgment, those are fine, but they're not the thing either).
So I did what any reasonable person does when they're annoyed: I went full obsessive. Made batch after batch across a few weekends. My kitchen smelled amazing. My jeans got less comfortable. And I figured out what actually matters versus what's just noise that food bloggers repeat at each other.
Here's what I learned.
What I actually tested (and what you can stop worrying about)
There's a lot of contradictory chocolate chip cookie advice out there. I tried to test the main variables systematically, which sounds fancy but really just means I made a lot of dough and split it up.
Sugar: You need both cane sugar and regular white sugar. I tried using only white sugar and the flavour was flat. Technically fine but missing that slightly caramel-y depth that you associate with a proper cookie. The cane sugar does something. Not negotiable for me.
Butter: I tried brown butter (smells incredible, genuinely did not improve the final cookie enough to justify the extra step), cold butter from the fridge (hard to mix, no benefit I could detect), and soft room temperature butter. Room temperature won every single time. Just take it out 30 minutes before you start. That's the whole trick.
Flour: Tipo 00 is my preference, closest to the texture I was going for, slight chew, nice colour. German Type 405 works well too and is obviously easier to find here. I also tried a coarser all-purpose flour and it made a slightly paler, slightly fluffier cookie. Fine if that's what you have. Not worth buying something special.
The fridge question (this is the interesting part): I made one large batch and split the dough into portions, chilling each for a different amount of time before baking.
- 2 hours: spread too flat, baked too fast, a bit disappointing
- 24 hours: genuinely good, a proper cookie
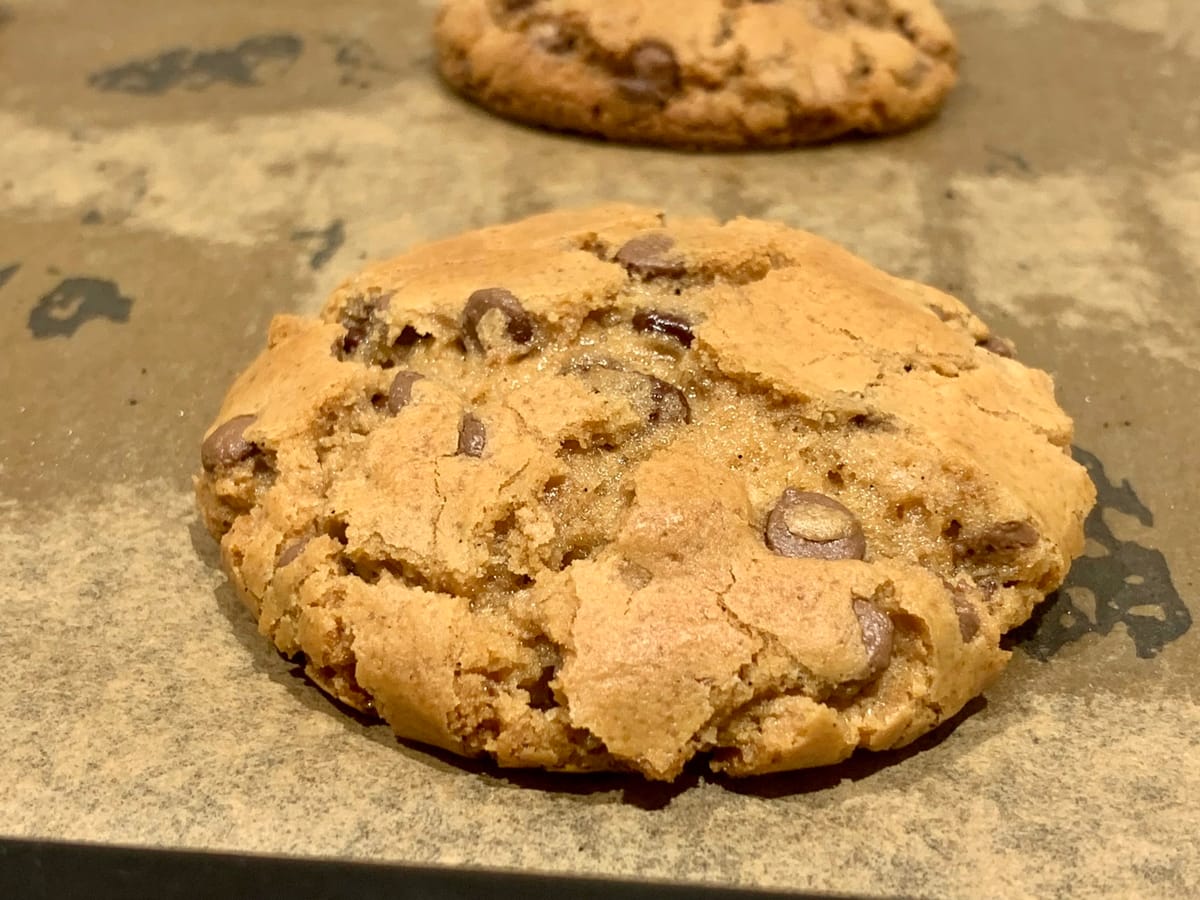
- 72 hours: the best result I got, more complex flavour, better chew, crispier edge
- 1 week: still tasty but drier than I'd like, past the peak
The explanation, as far as I understand it, is that the flour slowly absorbs moisture from the butter and egg as it sits, which changes both the texture and how the sugars caramelise in the oven. I could be wrong about the mechanism but the results were consistent across multiple tests. 72 hours is my recommendation. It takes zero extra effort. You just make the dough three days ahead and let your fridge do the work.
Ingredients (makes about 20 cookies)
- 120g butter, left out for 30+ minutes so it's properly soft
- 100g cane sugar (roughly 1/2 cup)
- 100g regular white sugar (roughly 1/2 cup)
- 1 egg
- 1 tsp vanilla extract
- 185g tipo 00 flour (or Type 405)
- 1 tbsp cornstarch
- 1/2 tsp baking soda
- 1/2 tsp salt
- 250g chocolate chips
The cornstarch is not a typo and it's not optional. It keeps the centre soft without making the cookie cakey. I was sceptical the first time I saw it in a recipe. I am not sceptical anymore.
How to make them
Beat the softened butter with both sugars in a large bowl until fully combined, no streaks of pale butter, no dry pockets of sugar. This takes about two minutes with a hand mixer or a solid three minutes of stirring by hand. Don't rush this part.
Add the egg and vanilla extract and mix again until the whole thing is smooth and glossy.
In a separate bowl, mix together the flour, cornstarch, baking soda, and salt. Sift the dry ingredients over the butter mixture and fold everything together until it becomes obvious cookie dough. At some point you will want to eat a spoonful. There is a raw egg in there, which I personally treat as an acceptable risk, but I understand if you don't.
Add the chocolate chips and fold them in.
Put the bowl in the fridge for 20-30 minutes. This isn't the main chilling step. It just firms the dough up enough that you can roll it into balls without it sticking to your hands. After that, scoop and roll into balls of roughly 40g each. Place them on a lined baking sheet with a few centimetres between each one.
Now put the whole sheet back in the fridge. Minimum one hour. Overnight is meaningfully better. Twenty-four hours is noticeably better. Seventy-two hours is the goal if you can plan that far ahead.
When you're ready to bake: preheat to 180C, bake for 12 to 14 minutes. My oven heats harder from the bottom so I put the rack one notch above the centre. If yours bakes evenly, middle rack is fine. Pull the cookies when the edges look set but the centre still looks slightly underdone. Leave them on the sheet for 5-10 minutes before transferring. They'll firm up as they cool.
Alternatives and substitutions
Since the title promises them, here they are.
Dairy-free: Replace the butter with a good vegan block butter (not spread, the spread is too watery). Honestly works pretty well. I've made this version for a friend who can't do dairy and the result was almost identical.
Different chocolate: I've tried chopped dark chocolate bars, white chocolate chips, and a mix of both. All fine. My default is semi-sweet chips because they balance the sweetness of the dough without going too bitter. Fancy Belgian chocolate is not necessary. Whatever Lindt chips are on sale at the supermarket work fine.
Smaller cookies: If you want more than 20, roll the balls smaller and reduce the baking time to 10-11 minutes. Watch them more carefully. Small cookies overbake fast.
Gluten-free flour: I haven't tested this personally so I won't pretend I have confident advice. It's the one substitution where I'd trust a specialist recipe over anything I say here.
A few practical notes for small kitchens
If you're working with a compact oven (I have about 45 litres of oven to my name), bake one sheet at a time. Two sheets at once in a small oven means the bottom sheet gets too much heat and the top one too little. One sheet, one slot, much better result.
Keep the unbaked dough balls in the fridge for up to a week. You can also freeze them: bake directly from frozen, just add two or three minutes to the baking time.
The baked cookies keep in a tin for four or five days. This is theoretical knowledge for me because they've never lasted that long in my apartment.
These are good cookies. Not "good for homemade." Actually good. The 72-hour dough thing is worth doing once to see the difference, and after that you'll probably just build it into your routine. Make the dough Thursday night, bake on Sunday, do nothing in between except occasionally open the fridge and feel pleased with yourself.
The one thing I'd add: write down your oven rack position the first time you get a great result. I spent two whole batches trying to recreate something I'd already nailed because I forgot I'd moved the rack up a slot. Classic.
Make the dough tonight.