Home Blog Page 8

How to make a vegetable soup 101

When I started writing this recipe I was thinking to specifically write about this soup that I made, but the problem of how to make a vegetable soup with whatever you got in the fridge actually makes a bit more sense so here it is.

The approach here is based on a couple of main components. If you want the recipe in this specific photo, go to the bottom of the post

Component #1: The body

Most of the vegetables that you will use will give it a proper body, but in particular, THREE are key: Potatoes, carrots, and onions. Have you noticed that most of the soups have the same taste profile? The reason behind it is that most of them have at least one of these three ingredients. You always start with sauteing in high heat and giving them a bit of color. Colour is usually great for adding it a bit of taste

Component #2: The flavor givers

Generally speaking, this would be that additional couple of ingredients that make it all interesting. Usually, it’s a strong flavor ingredient that would make this soup special. Think here like broccoli or summer squash – depending on the seasonality.

Component #3: The aromatics

As a soup is a fairly liquidy dish, smell and taste usually are bonded together. As such a bay leaf, some peppercorns or even some sort of dry herbs would go a long way

Component #4: the fresh greens

These components are usually added in the end to finalize the dish. They give that awesome taste that you must have. Think here, fresh herbs like spring onions, basilicum, mint etc.

Component #5: the plate finishers

Usually, this means some sort of oil or creme. If the soup is a chilly heavy in oils type of soup, on the plate you should drop in some yogurt or yogurt alternatives. Usually, with simple vegetable soups, a drizzle of some aromatic olive oil goes a long way.

Last tips:

  1. You will need some liquid – with the vegetable soup I usually use water, you don’t need to get fancier here
  2. You can blend the soup if you want, but you have to be careful here. As this is a very hot liquid. Most of the times it’s recommended to use some sort of hand blender. They are great for these type of things and they are fairly cheap.

Find current photo recipe here: https://www.kitchenetterecipes.com/summer-squash-and-potato-soup-with-spring-onions/

Summer squash and potato soup with spring onions

This is a follow up of How to make a vegetable soup 101 which I would highly recommend checking out before as it explains everything why we are doing this for this summer squash and potato blended soup with spring onions

You will need:

  1. 1 chopped onion
  2. 1 chopped carrot
  3. 1 cubed potato
  4. A couple of summer squash’s
  5. spring onions
  6. water
  7. Salt, pepper, spring onions and a bit of butter

If you don’t wanna, here it goes:

  1. Sear one chopped onions, one chopped carrot, and one cubed potato till they get some color
  2. Marinate them with salt and pepper
  3. Cube the summer squash and add this to the mix
  4. Add some aromatics like oregano, dried thyme, and a bay leaf
  5. I also added the white parts of the spring onions
  6. Add about a liter of water
  7. You can let it boil in medium heat in a pressure cooker for about 30 minutes or in a normal pot for around 1 hour.
  8. Blend everything together with a hand blender.
  9. Throw in a bit of butter for shine and to make it interesting.
  10. Serve it immediately with chopped spring onions on top, a drizzle of olive oil and freshly ground pepper

As you see this summer squash and potato soup require no fancy ingredients and absolutely no cooking skills. Go ahead and get it done. Now, these recipes are the pinnacle of what we are trying to do here so that you don’t need to spend a lot of time and most importantly, money!

Grandma’s one-pot chicken tagliatelle

This one-pot chicken tagliatelle recipe is very dear to me as it comes with a history. I will not bore you with the history, but I would definitely note that one that history, a couple of key components make sense for this dish.

First and foremost this is done in one pot, that’s it. Just follow the recipe and dump the ingredients there one by one and you will be fine. Second, this is such a warm and hearty meal that it will blow your socks off. And third, the key ingredients are fairly cheap and easy to find (like chicken and pasta)

One-pot chicken tagliatelle

So you will need:

  1. 500 gr of chicken drumsticks
  2. 250 gr of  tagliatelle
  3. 30 gr of butter
  4. 1 tablespoon of olive oil
  5. 6 cups of water
  6. salt

How to cook Grandma’s one-pot chicken tagliatelle:

  1. Clean up the chicken drumsticks from the excesses that you do not like, dry it up and marinate it with salt
  2. In a big pot, we add the butter and the olive oil. We like the butter for the taste and we add the olive oil so that the butter does not burn
  3. Add the chicken once the butter and the olive oil heats up and sear them on all sides.
  4. After the chicken has been seared on all sides and you have got this delicious golden color, add the water and let it simmer in medium heat for 20 minutes (following WHO’s recommendations in these times). 
  5. Add the pasta and cook them by following the directions of the packaging and everything should be fine. Note that it may require you to mix everything up every once in awhile, but be careful because after 20 minutes of cooking the chicken drumsticks would be crazy soft.
One-pot chicken tagliatelle

If you feel that you want a fancier pasta, check this Pesto, tomato, and burrata pasta or Creamy chicken, broccoli and mushroom pasta

White wine mushroom risotto

The epitome of fanciness and delicate flavor is nothing else than a properly made risotto. Obviously making risotto like the masters, requires a lot of experience and technique, but our white wine mushroom risotto needs no such thing. Follow this simple step by step process, that you can not really go wrong.

One of the key things here is that this recipe of white wine mushroom risotto can be easily adjusted to adding any type of veggies or meat to this approach. As such this can be one of those recipes for the Quarantine grocery list that I posted the other day.

You will need for two people:

  1. 200 gr of fresh mushrooms (but here feel free to add more if you like mushrooms)
  2. 1 onion (would recommend red onions here, but whatever you got works usually)
  3. a bit of garlic
  4. butter and olive oil
  5. a dash of white wine
  6. rice

Step by step process:

Follow the pics as a reference – bellow you will find al the steps

  1. Depending on the type of person that you are, you can chop the onions or blend them fine in a food processor
  2. Do the same thing that you did with the garlic as well
  3. In a hot pan add a bit of olive oil. and throw in the chopped onions and garlic
  4. Let them sweat a bit till translucent
  5. Throw in the chopped mushrooms and cook them until the water that they retain, evaporates.
  6. After the water is gone salt the mushrooms. This is a fairly important step as we are adding rice later, the mushrooms need to be a bit salty. Taste as you add salt, please!
  7. At this point, you should have a fairly dried mixture, throw in some white wine. The addition of the white wine is completely optional, but in the end, it gives the mushrooms a different depth of flavor. Let it evaporate.
  8. Throw some butter for some added shine to the mix and then throw in the rice and stir so the rice is mixed with the mushroom and gets a nice shine.
  9. Add the water (1 part rice, 2 parts water). So whatever rice amount you added double it and that’s your water amount.
  10. Let is boil, lower the temperature and cover it in low heat.
  11. Cook the rice for 15-17 minutes.

Serve and eat this delicious white wine mushroom risotto immediately

Quarantine grocery list for 14 days

First, my thoughts are with those who are impacted by COVID-19 already. I wish a speedy recovery to all those who are ill, and to those whose loved ones are battling this virus. I also want to express admiration and gratitude to the medical professionals on the front line of treating those who are ill. I am trying to do my part by staying home and crating this quarantine grocery list for the rest of us.

Now let’s get to it. Say that you need to self-quarantine for 14 days, what are the things that you will need? Here is a collection of all items, with the assumptions and core food items that you will need.

Generally speaking, your body will need macronutrients and micronutrients. The macronutrients are the ones that the body needs in large amounts, as they provide energy (calories). Micronutrients are mainly vitamins, minerals, and water. Follow the end of the post for a detailed nerdy approach. Else, just read on for a description in layman terms.

Assumption #1: You live in the city

Which in turn means that you live in an apartment like every one of us, which then, in turn, means that you will not get a lot of exercise. As you will work from home and will not do much, there will be no commuting, no going up and down the stairs for meetings and coffee, no lunch somewhere 15 minutes away, no nothing. Just from the kitchen and back. So if you are not careful, this extra precaution will help you put some extra unhealthy pounds – or in other words, 1 step forward, 2 steps back. Before anything, there are plenty of home-based exercises around. just give it a quick google.

Based on this assumption, your carb intake needs to be controlled so I don’t want to see you buy a bunch of those toasty bread. You need to take your carbs from natural sources(such as rice, oats, potatoes).

Also, again, generally speaking, your calorie intake with your calorie expenditure should be on some sane level. So, as you are not doing much, you should also not eat much.

Assumption #2: You are most probably working remotely

Maybe somewhat not related to the grocery list, but to the general furniture. You need to make sure that you have a proper working space, where you sit down and keep your back straight. Also, one of the key problems of working at home is snacking. So when you go do your grocery shopping list, no chips and stay away from sweets. Carrots are your friends.

Assumption #3: You are freaking out and you think that you need to prepare for the end of the world.

Of course, this is scary, but one of the key problems of this scary situation is the scare itself. I am not saying that you should not care, but I am also not saying that you should go mental and buy 10 packs x 12 toilet paper rolls (Which if you do, you will last 640 days or 4571% of your quarantine – obviously if you go to town 3 times a day – Note this awesome website)

Enough, let’s get to the food.

14 days, means 14 breakfasts, 14 lunches, 14 dinners and 14 days worth of snacks for 1 person: a ready-made quarantine grocery list!

14 breakfasts

You are either an “eggs and salami person with toast”, “oatmeal with dried fruit and milk or both. If you are like most of people, you will do both.

  1. 10 eggs (a carton of eggs)
  2. 2 packs of any salami (some sort of wurst)
  3. 500gr of oatmeal
  4. 2 cartons of yogurt
  5. a pack of mixed dried nuts (family pack)
  6. 5-7 bananas
  7. 1 instant coffee (the Nescafe type, which will last you 3 months)
  8. We are not getting toast, we do not deserve it.

14 lunches

Here you need to have 3 basic dishes, which you will cycle and adjust. The core of the dishes will need to have a protein, a carb and some veggies.

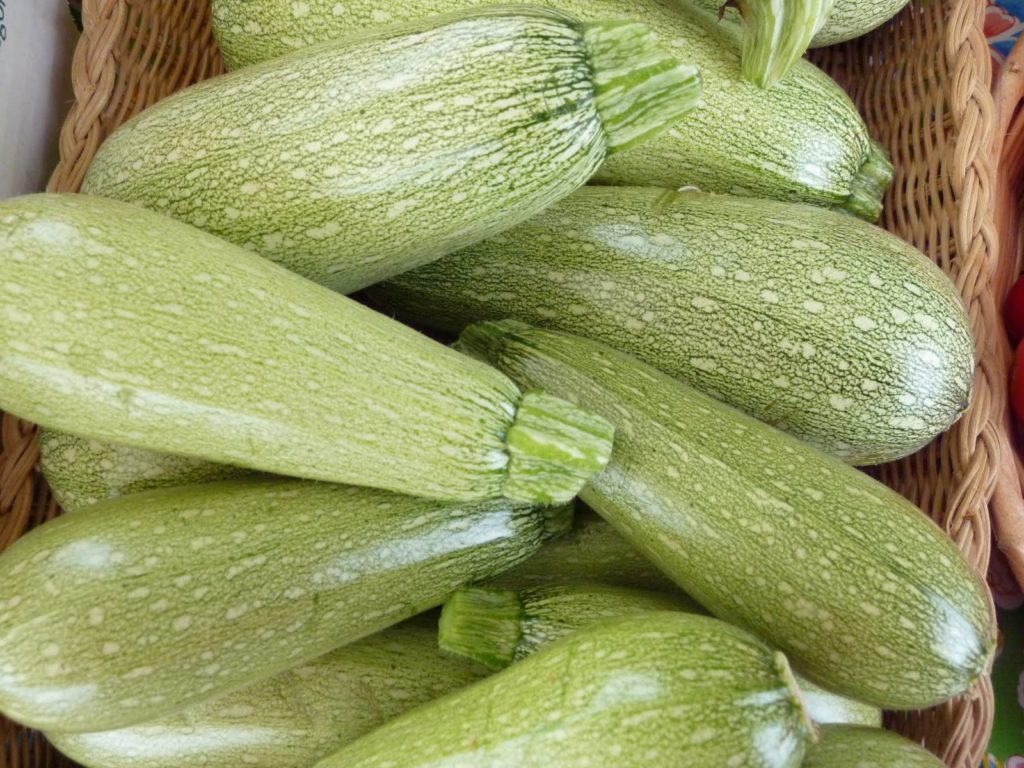
Your protein can be any type of meat, lentils or beans. Your carbs need to be rice and potatoes. Your veggies are whatever you want

  • Dish 1: 150gr of chicken breast, 50gr of rice, 100gr of veggies
  • Dish 2: 150gr of chicken breast, 200gr of potatoes, 50 gr of veggies
  • Dish 3: Chilli con Carne with rice (50gr of rice 1/2 can of beans, 1/2 can of chopped tomatoes, 150gr of minced meat)
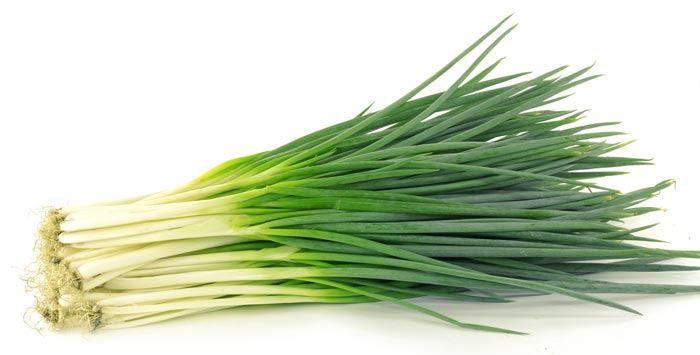
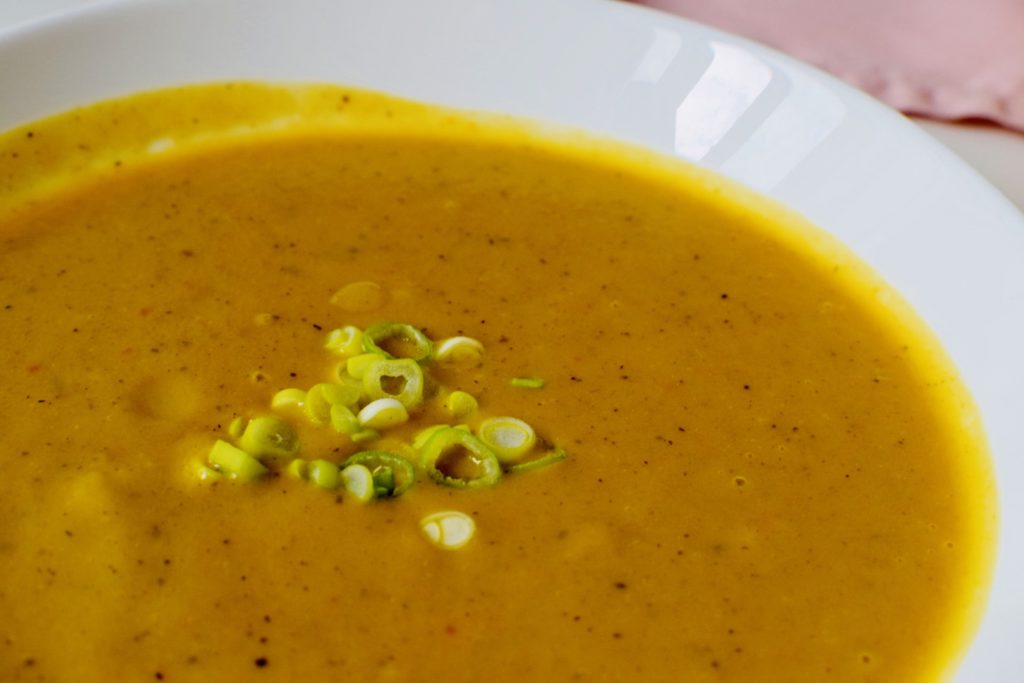
  • Dish 4: Lentil soup (150gr of lentils 20gr of onions)
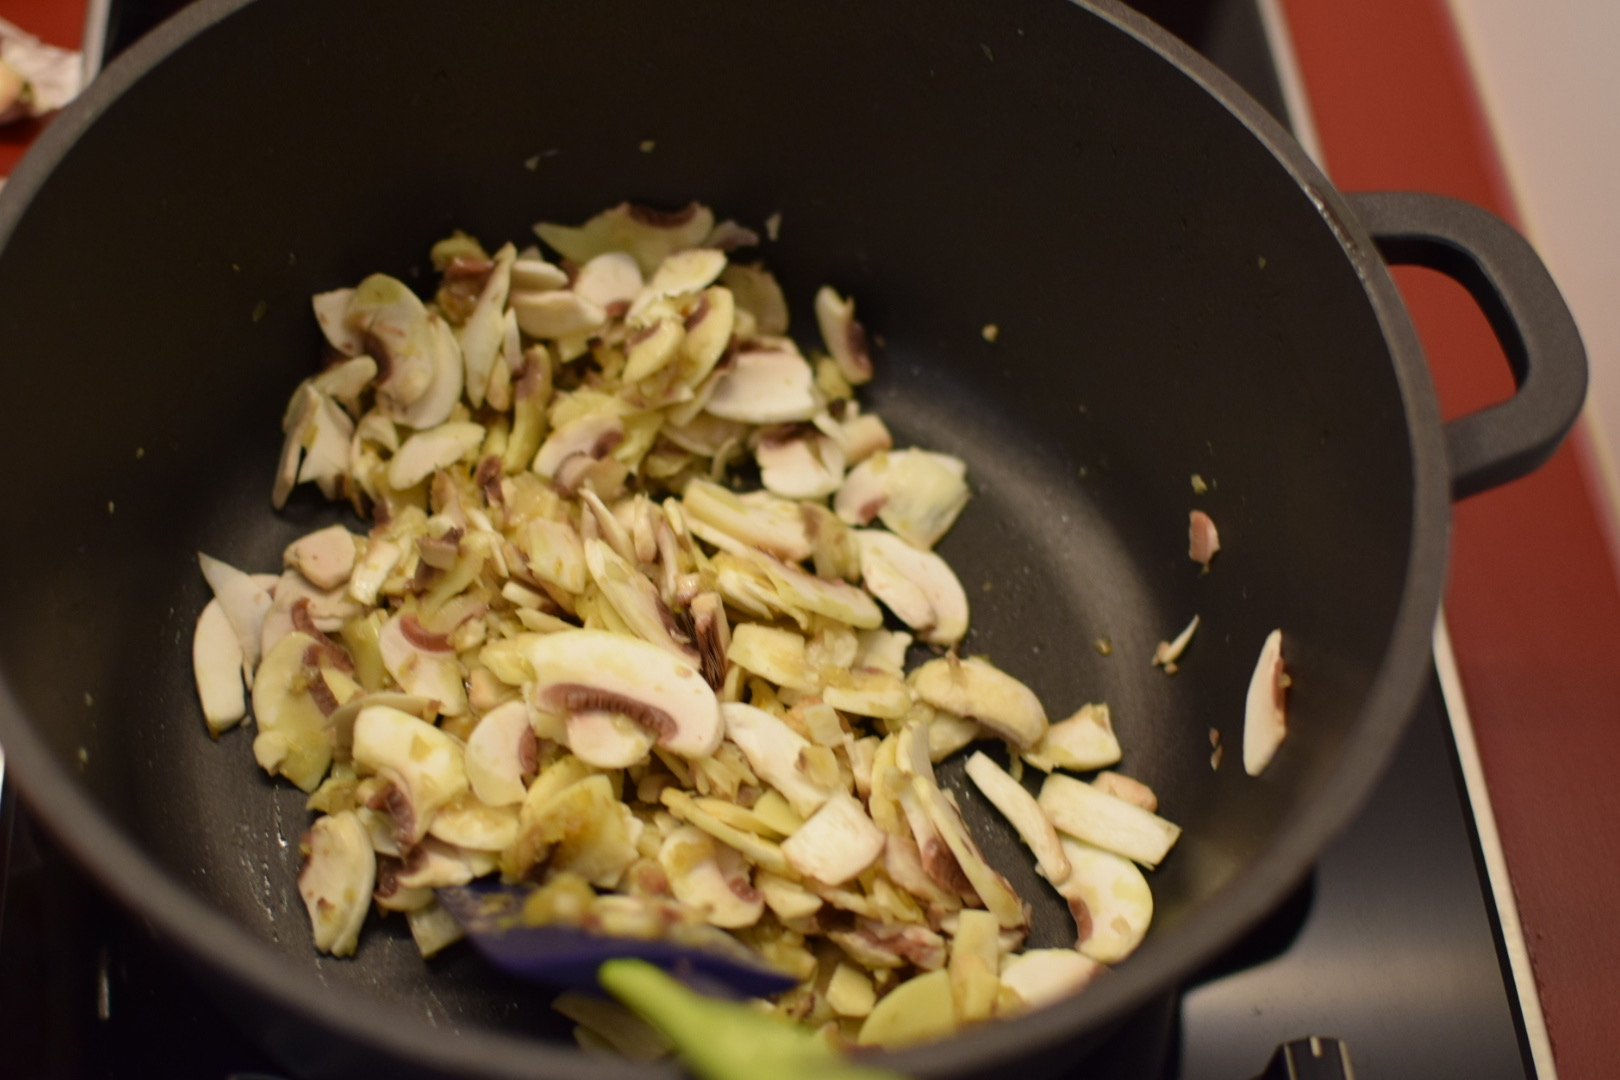
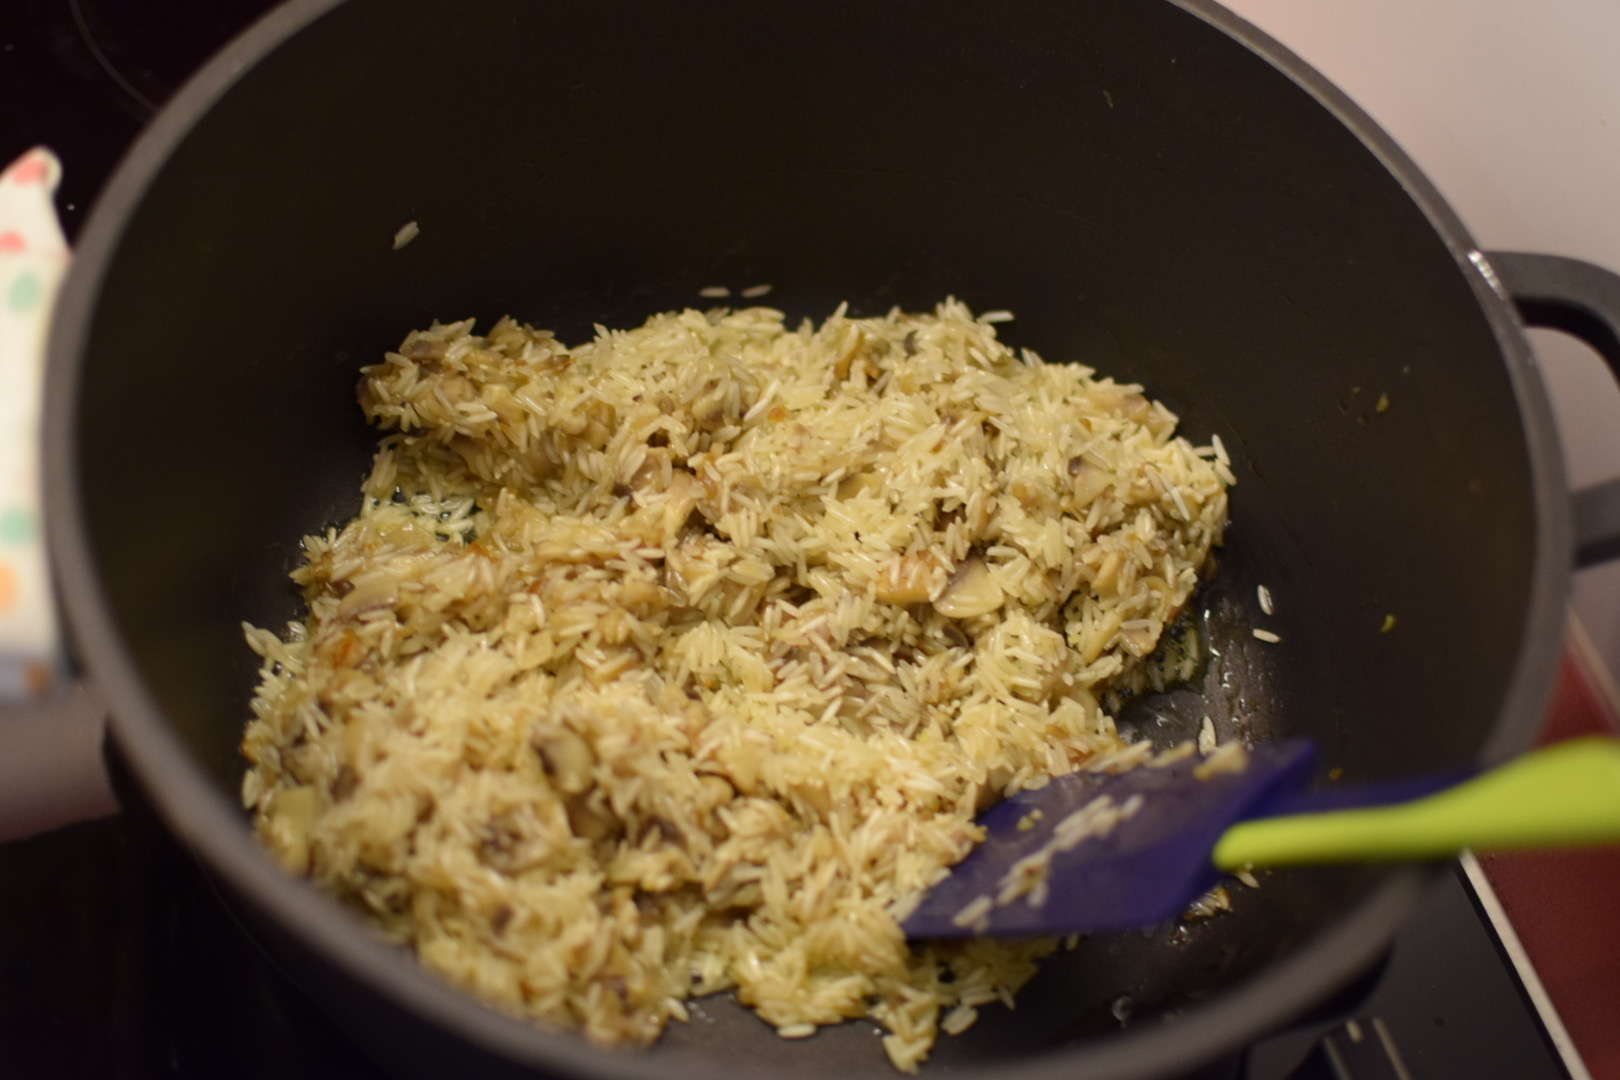
  • Dish 5: Risotto (100 gr rice, 50gr of veggies)

Let’s multiple everything by 3

  1. 1kg of chicken breasts
  2. 500gr of minced meat
  3. 500gr of lentils
  4. 1 kg of potatoes
  5. 500gr of rice
  6. 2-3 packs of frozen veggies
  7. 2 cans of beans
  8. 2 cans of chopped tomatoes
  9. 500gr of onions

See these recipes https://www.kitchenetterecipes.com/easy-chicken-veggies-and-rice-asian-style-stir-fry-wanna-be/ and https://www.kitchenetterecipes.com/here-is-how-to-elevate-boring-boiled-vegetables/

14 dinners

On this quarantine grocery list, dinners are the part where you are not gonna like me anymore. Here we need to cut down a bit. Our lunches have been a little heavy and we have overeaten a bit. So in here, we have to cut down. Generally, speaking dinners should be optional, but as you are bored from staying home all day, I have to give this to you.

In the first part of the quarantine, salads are your friends here and they are very tasty friends.

  1. You will need to choose a bunch of bases (like 2x romaine lettuce, 2x arugula or something similar)
  2. Then you will choose some freshness (250 gr cherry tomatoes are your best friend, peppers, and onions as well)
  3. You will add a bit of fun – with some cheese 200-300grs, pick whatever you want.
  4. You will need a dressing (pick some honey mustard or french dressing)
  5. Add some protein (maybe some 2-3 tuna)

Some days, you will just need a bit of yogurt (3-4 ) with some fruits(apples, blueberries, frozen fruits, just get sone). And some other days, you will not deserve anything because you ate too much lunch

With those, you can make 8 salads, 4-6 fruity yogurts and there you have it

14 snacks

You already got bananas and a family pack of dried fruits. Now you will need carrots and oranges. This is your snack.

Supplements:

The basics of all supplements are as such: Vitamin D and fish oil(or omega 3) in the morning after breakfast, vitamin c during the day. Zinc in the evening after dinner and magnesium before you go to bed.

That’s it! this quarantine grocery list wasn’t that hard, was it? Now for the rest of you that have excess toilet paper, let us know how you can cook them 🙂 Also do me a favor and follow me on instagram.

Final note: The image is not mine, Bloomberg via Getty Images

Pesto, tomato, and burrata pasta

Lazy Sundays at home either require some complicated and very fancy lunch menu or a very easy and hear warming dish. After we want for a walk around Frankfurt (which to be honest on a Sunday morning is a ghost town) we felt like pesto, tomato and burrata pasta of some sort.

Let me explain why specifically we chose these ingredients

Pesto

Because you need a sauce base and we have been recently just using the Barilla pesto al Genovese which to be brutally honest is a great addition to your cupboard as that small bottle is good enough for 3 pesto pasta meals for two.

Tomato

Cherry tomatoes to be exact. The sauce needs a little bit of acidity which makes a whole lot of difference and the cherry tomatoes are always packed with that delicious acid flavor

Burrata

My cheese weapon of choice. The sauce and cherry tomatoes are packed with so much flavor that you need something to tone it down – and there is nothing like a soft and smooth burrata to handle everything.

Last but not least: Kitchenette proof

This is a fairly important component as you don’t really need to have a lot of space and there is practically zero prep going on. You can even try to do it in one pan if you have one. Just dry the pasta first and then cook the pesto in the dried pan

What do you need:

  1. Some type of pasta. I used small farfalle because that’s what was available
  2. Pesto al Genovese – pick your favorite brand in the market. you don’t have to make it yourself.
  3. A bit of milk
  4. Some cherry tomatoes
  5. one burrata.
  6. Salt, pepper and olive oil.

How to get it done

  1. Boil the pasta water with a bit of salt and olive oil
  2. Cook the pasta 1 or 2 minutes less than the recommended cooking time
  3. Reserve some of the cooking water.
  4. In a hot pan add a bit of olive oil and a tablespoon of pesto sauce.
  5. Add a splash of milk and mix everything up.
  6. Drain the pasta when they are almost ready and add it to the pan with the pasta water that you reserved
  7. Start stirring everything and turn off the heat
  8. Stir everything until the water has been retained.
  9. Add the cherry tomatoes and mix everything up
  10. Serve with a quarter of the burrata and some cherry tomatoes

Btw – the basil on top is from our small basil plant. Also if check https://www.kitchenetterecipes.com/cacio-e-pepe/ for something in the same level of simplicity

Coconut chicken with rice and mushrooms

Recently we have been exploring a bit with a bit more complex recipes(such as coconut chicken) to simplify them and debunk their problematic and time-consuming approach. Today we will focus on coconut milk and what we can do with it.

I am sure that you have heard of curry chicken. Everything that we will do today will be similar, but without the curry powder – so if you want to do curry chicken, all you have to do is add the curry powder to it.

I will not tell you that you will not enjoy the coconut drumsticks by themselves, but adding a bit a zing to your zang is necessary. As such we need a filler, like rice, and some umami component, which is the mushrooms. The combination of them all makes for an amazing dish.

On a side note, here is how you can elevate and fancy up cheap and easy meals.

coconut chicken

For that you will need:

For the coconut drumsticks

  1. 500 grams of chicken drumsticks
  2. 200-250 ml of coconut milk
  3. a bit of garlic
  4. salt and pepper
  5. olive oil
  6. butter
  7. Paprika, salt, and pepper

For the rice:

  1. one cup of rice
  2. 2 cups of water

For the mushrooms

  1. Fresh mushrooms, sliced
  2. garlic
  3. Paprika, salt, and pepper

How to get it done:

  1. Get the drumsticks, dry them with toilet paper and marinate them with salt pepper and paprika
  2. In a thick and deep pot put some oil in high heat.
  3. Once the oil is hot, place the drum sticks and give them a very nice sear from all sides. We want the skin to get crispy
  4. Dump in the coconut milk, add a clove of garlic and whatever aromatics that you may have around (like bay leaf or whatnot)
  5. Lower the heat and let them simmer for at least 30 minutes. This will cook the chicken thoroughly, soften them up and get them all juicy.
  6. Generally, you can see if it is done if you push the knife in the thickest part of the drumstick and the juice that is coming is clear.
  7. What are expecting here very soft chicken drumsticks that basically are destroyed with a spoon
  8. If you want to thicken and add a bit of taste, some butter is always a good idea in the end
  9. After the coconut chicken is done, let is settle for a second and start on the mushrooms
coconut chicken

For the Mushrooms

  1. In a hot pan with olive oil, add the sliced mushrooms and let them sear till the moisture is evaporated.
  2. At this point just add some salt and pepper and chopped garlic
  3. Let it sear properly.
  4. Remove and place in a plate. Here we are waiting for a lot of flavour

For the rice

  1. In a pot add one cup of rice and 2 cups of water
  2. Bring to boil
  3. Lower the heat to low and cover to simmer
  4. Cook for 15 minutes.
  5. Done

How to serve

Generally speaking, this can go at this in two ways:

  1. You are trying to impress someone you should put a bed of rice, e side of two drumsticks with a bit of the coconut chicken sauce and a tablespoon of fried mushrooms
  2. If you are trying to enjoy a simple dinner at home, just put the pots and the pans in the table and share like this is supposed to

Note: I am a native albanian speaker and you can find these recipes in albanian at Delicious.al

Mom’s homemade fried dough

Before we start anything, let me tell you that I am not a fried dough expert and I literally had to call my mother about this. So the recipe, tips, and tricks are not mine, but my mom’s.

Also, as I am not an expert, this is a down to earth recipe that anyone can do and you can not go wrong with it AT ALL.

So I woke up this Sunday and I was craving Sunday morning fried dough that my mom’s and my grandma used to make – so I did the next best thing – I asked to be guided.

Fried dough looks awesome huh

The best thing about fried dough is that you can eat them with whatever you want and you can’t really mess them up. I really like mine with just a bit of feta cheese. Alternatively, you can eat them with jam, Nutella, sugar or even make a sandwich out of them

You will need for 4 people:

  1. 500 gr of Flour
  2. 1 teaspoon of salt
  3. 1 teaspoon of baking soda
  4. 300ml yogurt
  5. 1 egg
  6. 1 tablespoon of olive oil

How to get it done:

  1. Mix the dry ingredients first – the flour, the salt, the baking soda
  2. Add the wet
  3. Mix everything up until it becomes a sticky mass of dough. This is pretty easy if you have a hand mixer (basically use the dough hand mixer component until it’s almost together and then use the hands). Alternatively, just use your hands till it becomes a big sticky mass.
  4. Cover it in plastic wrap and let it sit for 30 minutes.
  5. In a hot pan, add a bunch of your favorite cooking oil (sunflower or canola). You need to add enough so that the fried dough can float.
  6. Divide the dough into small balls as it makes it so much easier to stretch it.
  7. Here you need to use your hands – just take a bit of oil and cover your palms so the dough doesnt stick and start stretching it. Keep in mind that you need to have a couple of simple holes in it so that it cooks evenly.
  8. The thinner it is, the crunchier and the faster it will cook. Pick your favorite (or explore as you will have plenty).
  9. Once the oil is hot, add the stretched dough. Cook them one at a time, please.
  10. Once done, as they retain a bit of oil, put a paper towel in the plate.
  11. Eat them with whatever you want.

Omlette du formage (simple cheese omelet)

Sunday morning breakfast can be easy and classy if you want to. As such we think that a simple cheese omelet is always the fancy way to go. 

Let’s daydream a bit and not think about the fact that we just left the office and are complete workaholics – Imagine, you just woke up and you do not feel like cooking a whole lot, but you also feel like you you wanna be pampered a bit. 

This is a cheese-based mozzarella – but if you are feeling fancy, you can add some strips of ham or even spicy it up with a bit of gorgonzola or some sort of french fancy cheese that has been hanging in your fridge for a while.  

Here it goes, for 2 people you will need: 

  • 4 medium eggs
  • 100gr of feta cheese
  • 100 gr of mozzarella
  • A bit of butter
  • Salt and pepper
  • Fresh parsley

How to get it done: 

  1. Precut everything to make your life easier. Eggs can overcook very easily so it’s recommended to have everything precut
  2. Add a bit of butter in a warm pan. Note that the pan does not need to be in high heat – a medium-low is okay 
  3. Beat two of the eggs and add some of the feta in there.
  4. Add everything in the pan and spread it around
  5. Place the cut mozzarella in slices on top and put a pan on. This will melt the cheese
  6. After a bit, fold the omelet in half and let it be for a second
  7. Depending on how you like your eggs cooked, it’s up to you how runny you like them. 
  8. Server this simple cheese omelet with a bit of chopped parsley on top as it would give it some color

If you want something else for breakfast, may I recommend tackling oats? Here is a greats oats recipe.

Creamy chicken, broccoli and mushroom pasta

…adjusted for your own mood

This recipe features a fairly complex pasta recipe that you can usually only get in restaurants – simplified and debunked so that you can impress yourself and others around you.

The basis of this recipe working is fairly simple. You need to prep everything and have them ready so no time is wasted and the ingredients do not get cold.

Another component here is no measurements. It should be up to you how your pasta should look like. Do you want extra chicken? Add extra chicken. Do you like extra sauce – add more pasta water and more heavy cream. This is one of those recipes that you can not go wrong – and it will not be the same every-time you cook it – but it will come out perfectly for your mood.

You will need:

  • a chicken breast
  • a broccoli head
  • a couple of fresh mushrooms
  • heavy cream or milk or panna
  • salt and pepper, garlic
  • your pasta of choice (would stay away form long pasta for this case)
  • A bit of butter and
  • shredded parmesan if you want to be fancy

How to proceed:

  1. Cut the chicken, the broccoli and the mushroom in pieces. For the mushroom, I would recommend slices as it’s easier to cook.
  2. Put the water for the pasta to boil
  3. If you have pre-cooked chicken, that’s also not bad. Just make sure to cut it up and get it ready. If your chicken is uncooked, then it’s time to marinate it with a bit of salt, pepper, and granulated garlic. As you may have read on other occasions – marinating the chicken is a key important component. Giving the sear is the next one. That sear on the chicken makes it so much better (in technical terms, the Maillard reaction happens – which is a chemical reaction between amino acids and reducing sugars that gives browned food its distinctive flavor.) In other words, IF food is Browned THEN it tastes better. In this recipe, it is important because pasta, broccoli, and cream tend me to be bland. We want something to shine.
  4. After the chicken is done it’s time to put the pasta in the boiling water. The time it takes the pasta to cook should be the time it would take you to make the sauce. With the boiling water add the broccoli in the same container. They will need 5 minutes. You can either add them before and remove within 5 minutes or add them 5 minutes before the pasta is ready so you can drain with everything.
  5. Start by searing the sliced mushrooms. Here you can add salt immediately so that they release the water as they will be cooked down either way.
  6. After the mushrooms are seared, add the chicken that is already, and marinate.
  7. Once the broccoli is ready, add it to that as well and then add the heavy cream
  8. Let is boil for a bit and reduce the temperature.
  9. 1 minute before the pasta is ready, take it out and throw it in the pan with a bit of pasta water.
  10. Mix them all together and maybe add just a bit of butter.
  11. Once you see the consistency that you want, remove it from the heat and if you are feeling fancy add some shredded parmesan – the cheap one is perfect.
  12. Eat immediately