Cooking a herb-crusted pork tenderloin sound fancy and complicated. We shall approach it in the most simplistic way possible so you and your cooking skills are not challenged.
Before I go on with the recipe, let me explain in general terms what we plan to do today. You can use this technique for almost all types of fillets/tenderloins or meats.
- The tenderloin is usually fairly “fat-free’ which means it needs help with juices to keep moist. Other cuts of meat that are fairly fatty, need fewer juices. We will use butter and a pre-sear to cook it so it becomes tender.
- The tenderloin as you would normally get it in the supermarket tends to come with a lot of tissue and sinew. Once exposed to the heat, those will shrink and not let the meat cook unevenly. We have to remove most of the covering tissue. It is a process that will require a very sharp knife and patience. I humbly believe that it is the most important. Obviously, if you do not remove them, the pork tenderloin will still be eatable – but this covering tissue and sinew are hard to chew, making this big piece of meat lose its value
- For simplification purposes, I usually cut the tenderloin into two or three equal pieces. It makes handling is so much easier.
- When you put a big chunk of meat in the oven, it will release juices. In a non-fatty piece of meat, we don’t want that. So we shall pre-sear this meat in a pan beforehand. The formed “crust” will keep those juices in instead of them being released.
- As we are cooking the meat, let’s utilize this heat and cook some veggies. Pick whatever you want, but if you pick potatoes, cut them fairly small as they tend to take the longest to cook. We will be cooking this for just 30-40 minutes so take that into account.
- We use the herbs for taste. This big chunk of herb-crusted pork tenderloin can be “rubbery” if not properly covered with herbs. You can use whatever fresh herbs you have.
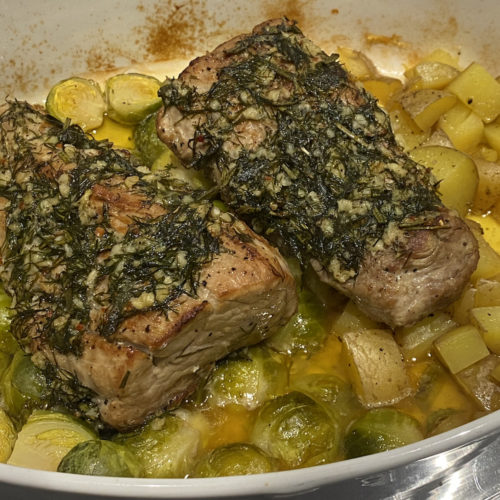
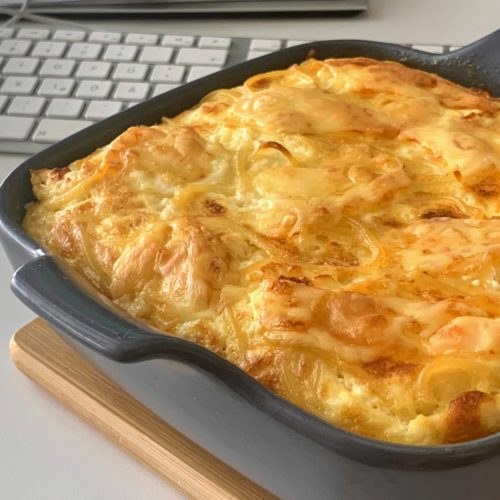
Herb crusted pork tenderloin overly simplified
Cooking a herb-crusted pork tenderloin sounds complicated. We shall approach it in the most simplistic way possible – with whatever we have!
Equipment
- oven
- pan
Ingredients
- 50 gr butter
- 3-4 stems fresh herbs
- 3 cloves garlic
- 2 tablespoons olive oil
- 1 x pork tenderloin
- cubed vegetables of your choosing
Instructions
- Clean up the tenderloin from sinew and cut it into two or three pieces depending on the size. Let the meat rest till it gets to room temperature
- Preheat the oven to 180 degrees
- Grab a bunch of fresh herbs. My choice was rosemary, thyme and coriander. Chop them up and put them in a bowl with the olive oil and minced garlic. Add a bit of salt and pepper and if you are feeling fancy, maybe some sort of red pepper flakes for heat. Mix them up real good till you start smelling the olive oil and garlic with the herbs. This is your herb crust.
- Marinate the tenderloin with salt and pepper
- In a hot pan, add some olvie oil and place the tenderloin to sear
- Sear it on all sides. make sure to cover everything. This should not take more than 5-6 minutes. We are not looking to cook the meat in the pan. We just want that primitive crust.
- Once seared, take some of the herb mixture and cover it on all sides. This will help hydrate the meat a bit.
- Add the chopped vegetables(which we have marinated with a bit of salt and pepper) to a roasting pan and place the meat on top of them.
- Cover the meat with the remaining herb mixture and place the butter on top in slices.
- To help with the tenderness, cover the roasting pan with aluminium foil and put it in the oven for 30-40 minutes. Remove the cover the last 5 min of cooking
- As always let the whole thing rest for 10-15 minutes before slicing and eating.


")